Come join me in my journey through the love of cooking, through difficult Creme Brulé's and easy peesy salads. Sharing my passion for cooking, great food...Let's bring the yummyness home.


Showing posts with label Baking. Show all posts

Thursday, January 12, 2012

Home made Pizza

There is truly almost nothing better than Pizza, we have a tradition in our home that we make pizza every Friday night....It such an easy meal to make and everyone can take part, putting on their favourite toppings.

I have a bread maker that makes the dough for me, but sometime I'll go to the supermarket and buy some dough at the bakery, otherwise I'll make it myself. 

I found this on the Internet, very interesting the history of pizza:

In 16th century Naples a Galette flat bread was referred to as a pizza.  A dish of the poor people, it was sold in the street and was not considered a kitchen recipe for a long time.  Before the 17th century, the pizza was covered with red sauce.  This was later replaced by oil, tomatoes (after Europeans came into contact with the Americas) or fish. In 1843, Alexandre Dumas, père described the diversity of pizza toppings.  In June 1889, to honor the Queen consort of Italy, Margherita of Savoy, the Neapolitan chef Raffaele Esposito created the "Pizza Margherita," a pizza garnished with tomatoes, mozzarella cheese, and basil, to represent the colors of the Italian flag. He was the first to add cheese. 

How interesting, my dream is to go to Italy some day and eat real Italian pizza and pasta...love the culture, I must have been an Italian in one of my previous lives.

So here we go:


Make your own Pizza Dough

1 tablespoon active dry yeast,
1 1/2 cups (350 cc) warm water
3 1/2 cups (500 g) flour
1 tablespoon extra-virgin olive oil
pinch of salt

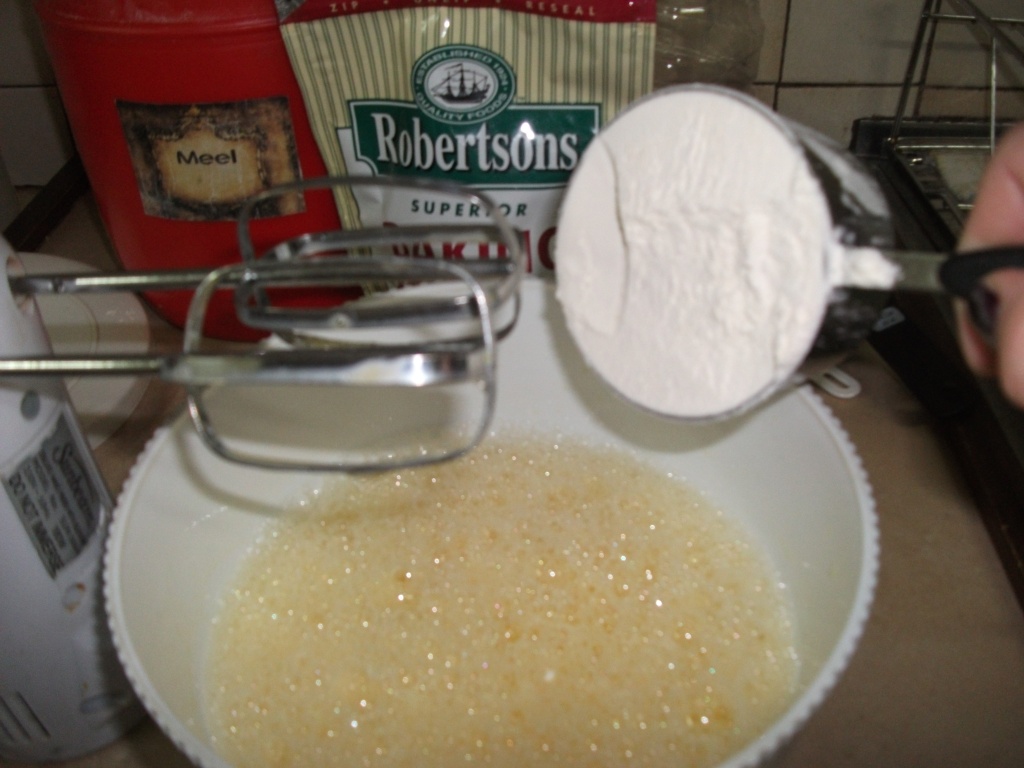
In a small bowl, sprinkle the yeast on the warm water and stir to dissolve it. Set aside until the yeast starts forming bubbles in about 5 minutes.  Sift the flour. Pour the flour into a large bowl or on a work surface. Mold the flour in a mound shape with a hole in the center.  Pour the yeast mix in the center & then the olive oil and a pinch of salt. Using a spatula, draw the ingredients together. Then mix with your hands to form a dough.  Sprinkle some flour on the work surface. Place the dough on the floured surface. Knead the dough briefly with your hands pushing and folding. Knead just long enough for the dough to take in a little more flour, and until it no longer sticks to your hands.

Ingredients for the Pizza (Toppings)

Tomato Paste (The thickness of the tomato paste all depends on you)
Cheese
The rest is up to you.

1.  Then to start on the Pizza itself, place the dough in/on your baking tin, I used a deep dish.  Now "knead" the dough in the dish so that it spreads everywhere, this might take some doing, but take a sip of wine and then go on... 
When you have the dough in all the corners and it's spread nice and evenly, then add your tomato paste, spread it nice and evenly.


2.  Then you can start adding your toppings, I have used cheese grillers here:


3.  A bit of bacon, or if that is not for you then any other meat topping or what ever you prefer:


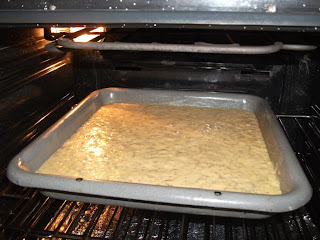
4.  I then topped it with cheese and then a bit of herbs sprinkled over it and then into the oven it went, 180 C for about 20 minutes, this heat is just enough for the cheese to melt gradually and the dough to cook.  And then when it's ready take it out, let it cool a bit and cut it up.


And now for a movie and yummy pizza

Thursday, September 22, 2011

Pancake (Pannekoek)

Who doesn’t like pancakes…there is so many ways to use them and in this post I’ll show how to make it the quick and easy way… Making pancakes is not difficult at all, the only thing is that you need some time, it does force you in front of the stove for a little while…but it will all be worth it. So put that apron on and come cook with me.


So here we go


What do you need:

Printable Version

1 x egg
1 x cup water
1 x cup flour

1 x tbsp vinegar
2 x tbsp oil
1 x tsp baking powder
Salt

Makes about 6 pancakes, when I prepared this batch I actually needed a lot of pancakes so I used everything x 4, and i made over 24 pancakes.


1. Using an electric mixer mix the egg & a little bit of the water together. Add vinegar, salt & oil in.


2. In turns fold in the flour and the rest of the water. Lastly add the baking powder and mix well. Then let the mixture rest.  As you can see in the picture below, it will become smooth and creamy with no lumps.


3. Now that the mixture is resting, let's prepare the stove before you start....I always have a plate handy with one of my bigger pots lids so that it can keep the pancakes warm after I make them.  I also use a little bowl to keep the oil in, I take one piece of paper towel, dab the oil and then dab the pan, so that you don't have an oily mess in the pan before you pour in your mixture. 


4.  Now the fun starts, keep the heat of the pan low, until you get the hang of it, rather take longer than not having any pancakes, tilt your pan to the side and pour the mixture into the pan with a nice big spoon...then "roll" your pan around so that the mixture can spread evenly across the pan, you don't have to pour in to much, don't make the pancakes to thick by pouring in more than needed.  Just for those of you who this is a first, please be sure to understand that your first one might be a flop...that's ok....it's "tradition"...


5.  Wait a little bit and then you will see the pancake almost "lifts" itself, then you can turn it around by using a egg lifter.  Keep your heat still on low.  When the colour turns nice and brown you can turn it one more time and time it out as the picture shows below.  In olden days the people used to keep a pot with hot water on the stove and the plate on top of the pot where the pancakes will go into and then cover it with the lid..it's up to you what you prefer to do.


For those that have become a bit more professional here is me flipping a pancake in the picture and video you can see...a non stick pan helps a lot..I had a helping hand from my hubby with the filming of video...yes yes I know..I was only bragging that I could do it...


Most people mix cinnamon & sugar and with every pancake sprinkle some over the pancakes, but for this particular batch I had to have them clean.
And now to enjoy


Tuesday, September 6, 2011

All Bran Flakes Rusks

If there is one thing that I know...coffee with a piece of Rusk in the morning is absolutely devine...There are some pleasure in life that you can savour without actually having it in front of you..

This is an all classic recipe that I actually got from my mom...love these rusks, and I hope you enjoy them to.


So here is the basic ingrients before we start:


1 kg Selfraising Flour
4.5 cups All bran flakes
1 tl Sout
2.5-3 cups Sugar
500g Margarien
3 Eiers
500ml Buttermilk
Get all your goodies together and then we are ready to start:


Put your oven on 180 so that it can preheat.


1.  First melt the butter/ margarien & sugar together in a small pot on the stove...as per the picture below.


2.  Now sif your selfraising flour, salt together & then add the all bran flakes. Mix your eggs & buttermilk together in another bowl...after it's mixed well add it to the flour mixture..after that add your melted butter mix to the flour and mix well....so far so good right...easy peesy.


3.  Spray or butter a deep oven pan...pour your mixture in, and place it into the oven...Breathe your done...well kinda.


4.  After about 45 min or less your rusks are ready to come out...test of course before you take it out, by sticking a knife in to see if any of the dough sticks to the knife..if it's clean take out the rusks. 
Wait till it cools down before you start cutting it up, i didn't listen and started cutting after i've taken it out.  Nothing serious happend there was just lots of crumbs.


5.  Try and cut into equal size squares, this is for us at home so i didn't really worry.   


6.  Place it back into the oven and put the oven on 100, let it dry, it takes a couple of hours...so now you can sit back and relax.


And after a couple of hours...you are done, keep turning the rusks so that they can get dry on all sides.


Enjoy it...best ever...