Come join me in my journey through the love of cooking, through difficult Creme Brulé's and easy peesy salads. Sharing my passion for cooking, great food...Let's bring the yummyness home.


Thursday, September 29, 2011

White Sauce (Béchamel Sauce)

I use this recipe a lot in my cooking, in my pasta's, as a start off sauce for mushroom sauce, which my family loves..Now a days I make it out of my head, but in the beginning I used to use the measurements...so I have added the recipe to follow...You can pour the white sauce over veggies, add some cheese or mushrooms and you have a cheese or mushrooms sauce...

So here we go:

Printable Version

 What you need for 250ml sauce


15ml butter
25ml tablespoon flour
250ml milk


Salt and pepper


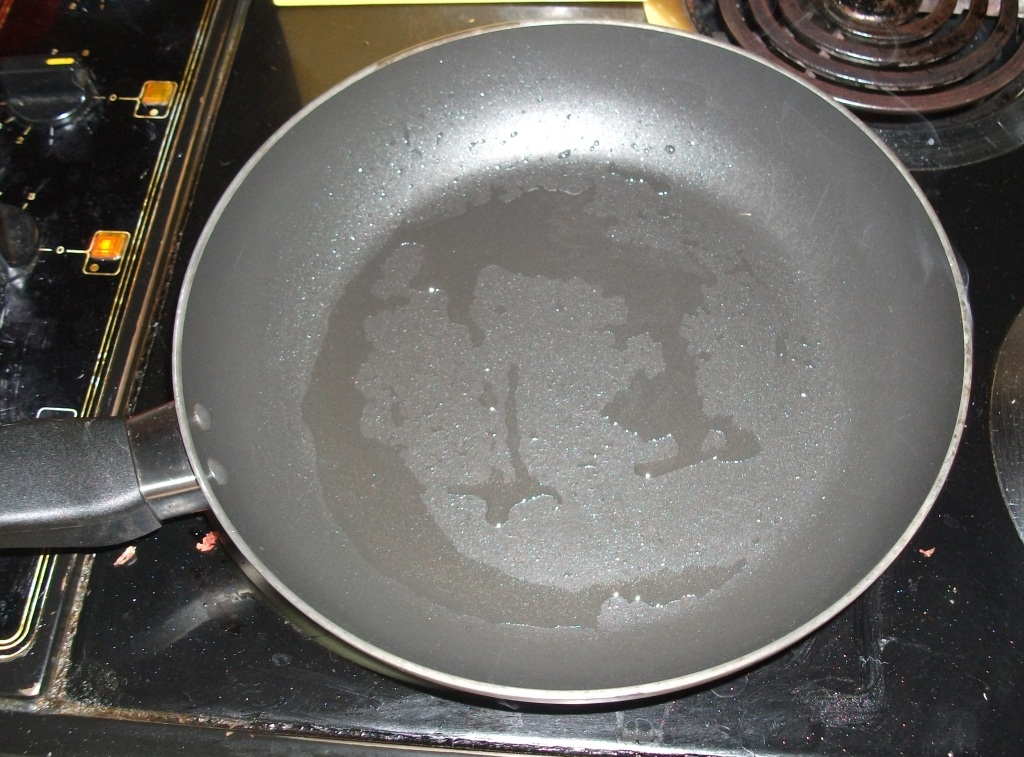
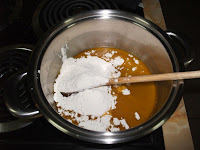
1.  First melt your butter in your pot.  Make sure that it’s all melted.


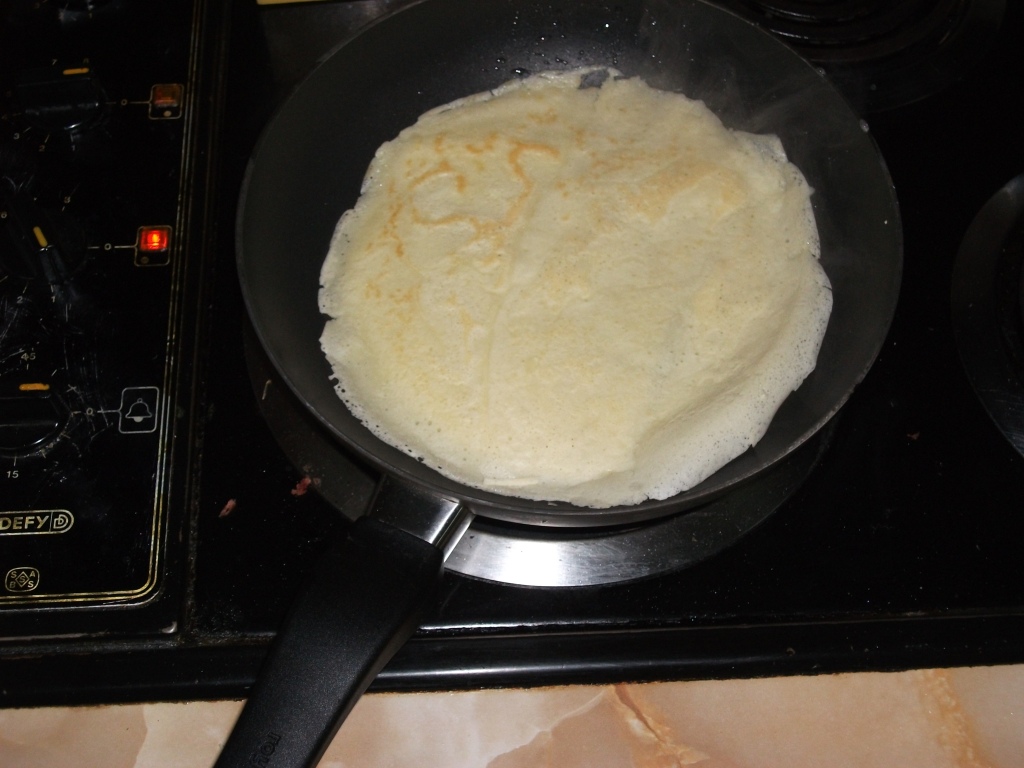
2.  Now you can add your flour and keep mixing it until the flour & butter makes a “paste” or in cooking terms forms a “ball” as you can see in the pictures below.                                


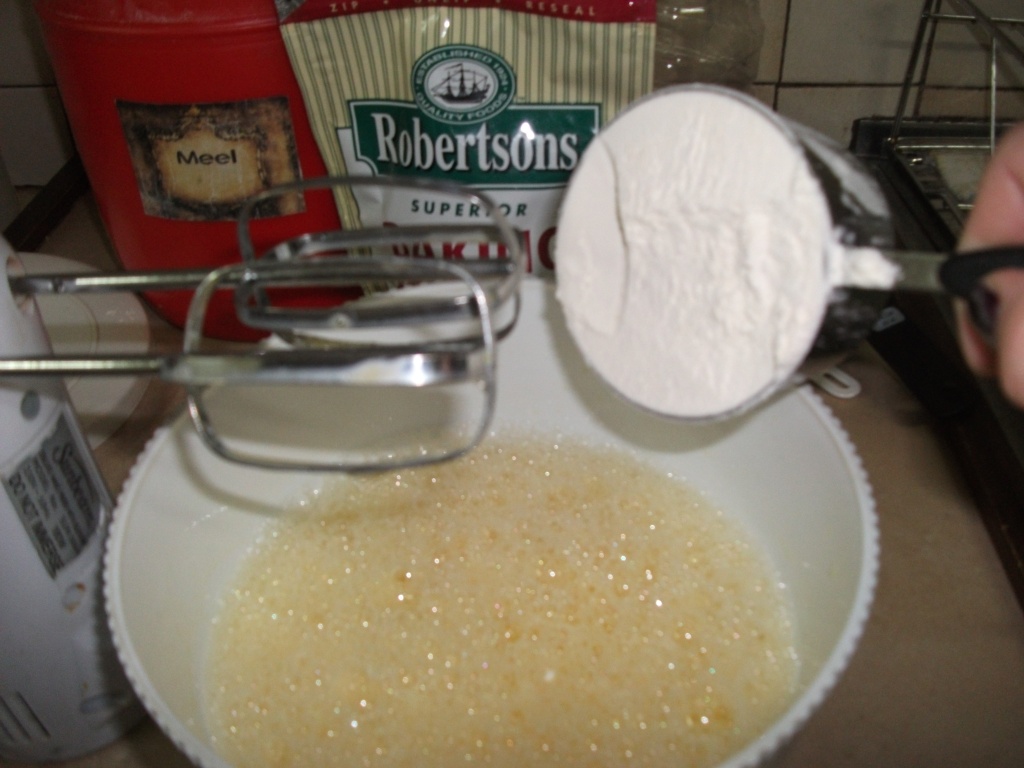
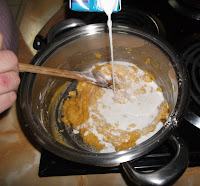
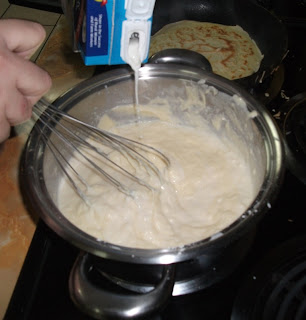
3.  Now pour your milk into the pan little by little and keep mixing…use a egg mixer as you can see in the picture below, the consistancy should be smooth…the milk mixture should be thicking as the heat increases.


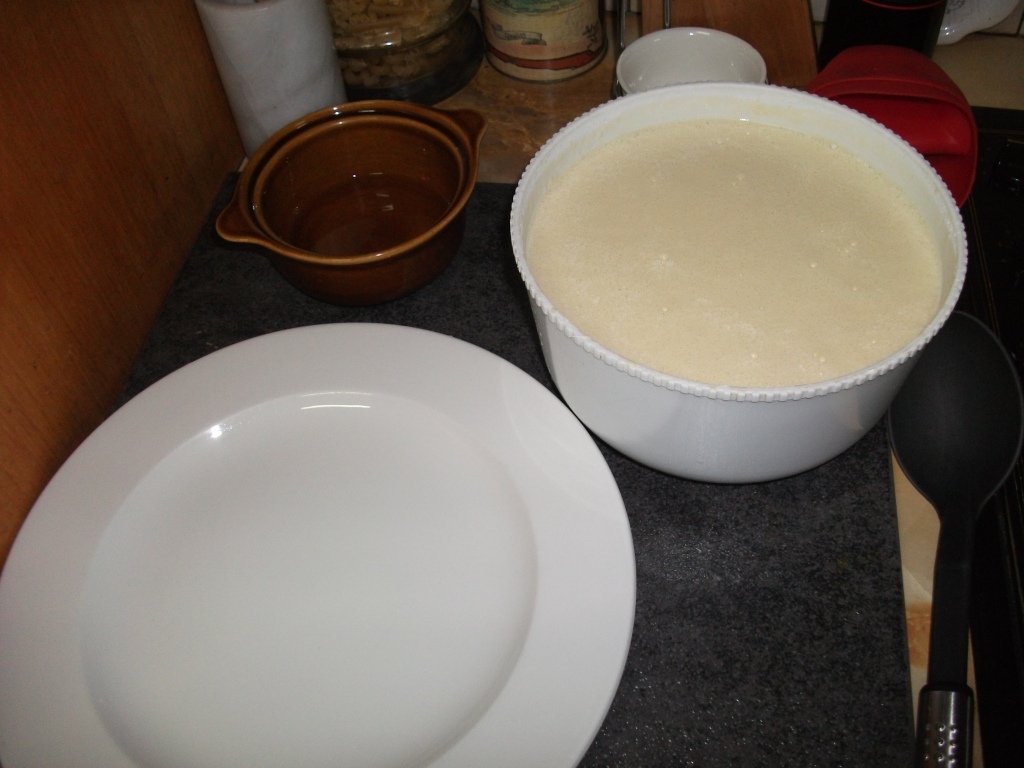
4. As you will notice the sauce will start to thicking, if it
totally thickens as if it isn’t runny at all, add some more milk, just keep stirring and adding milk. The sauce will be smooth and without any clumps…just keep using your egg mixer.


Friday, September 23, 2011

Heritage Day - Braai Day


On Saturday the 24th September 2011 it is Heritage Day - Braai Day...I love braaiing, fun times to get together with friends or family, or to just enjoy a nice fun meal...

So for the weekend I thought I would list some ideas you could use on what to make, now I haven't made these lately so that i can show you pictures but I thought you could get the ideas from the collective pictures at the top, and then me just adding the recipes.  I have personally tried and made all of these recipes so trust me they are good, at a later stage I will load each one separately.

Enjoy the braai day, I know I am.


This was the bread that i made myself this past weekend

Green Salad


Thursday, September 22, 2011

Pancake (Pannekoek)

Who doesn’t like pancakes…there is so many ways to use them and in this post I’ll show how to make it the quick and easy way… Making pancakes is not difficult at all, the only thing is that you need some time, it does force you in front of the stove for a little while…but it will all be worth it. So put that apron on and come cook with me.


So here we go


What do you need:

Printable Version

1 x egg
1 x cup water
1 x cup flour

1 x tbsp vinegar
2 x tbsp oil
1 x tsp baking powder
Salt

Makes about 6 pancakes, when I prepared this batch I actually needed a lot of pancakes so I used everything x 4, and i made over 24 pancakes.


1. Using an electric mixer mix the egg & a little bit of the water together. Add vinegar, salt & oil in.


2. In turns fold in the flour and the rest of the water. Lastly add the baking powder and mix well. Then let the mixture rest.  As you can see in the picture below, it will become smooth and creamy with no lumps.


3. Now that the mixture is resting, let's prepare the stove before you start....I always have a plate handy with one of my bigger pots lids so that it can keep the pancakes warm after I make them.  I also use a little bowl to keep the oil in, I take one piece of paper towel, dab the oil and then dab the pan, so that you don't have an oily mess in the pan before you pour in your mixture. 


4.  Now the fun starts, keep the heat of the pan low, until you get the hang of it, rather take longer than not having any pancakes, tilt your pan to the side and pour the mixture into the pan with a nice big spoon...then "roll" your pan around so that the mixture can spread evenly across the pan, you don't have to pour in to much, don't make the pancakes to thick by pouring in more than needed.  Just for those of you who this is a first, please be sure to understand that your first one might be a flop...that's ok....it's "tradition"...


5.  Wait a little bit and then you will see the pancake almost "lifts" itself, then you can turn it around by using a egg lifter.  Keep your heat still on low.  When the colour turns nice and brown you can turn it one more time and time it out as the picture shows below.  In olden days the people used to keep a pot with hot water on the stove and the plate on top of the pot where the pancakes will go into and then cover it with the lid..it's up to you what you prefer to do.


For those that have become a bit more professional here is me flipping a pancake in the picture and video you can see...a non stick pan helps a lot..I had a helping hand from my hubby with the filming of video...yes yes I know..I was only bragging that I could do it...


Most people mix cinnamon & sugar and with every pancake sprinkle some over the pancakes, but for this particular batch I had to have them clean.
And now to enjoy


Wednesday, September 21, 2011

Bacon & Ceddar Quiche (Souttert)

This is one of my favourite dinner dishes, this could be served at a lunch party or for a nice quick Saturday lunch, served with a green salad.  If it's cooked well then i promise it will just fly of the plates of your guests..and everyone will love it.  What's nice about this recipe is that you can add what ever you like and make it your own.  This is also a fun meal to cook because it's so quick and easy...Hope you like.


So here we go:


What do you need:


1 pkt Bacon
1 can Corned Meat (Bully Beef as we call it)
1 onion
4 eggs
2 1/2 cups milk
2 cups cheese
1 tsp mustard powder
4 tbsp self raising flower
herbs + Salt & pepper


Pre-heat your oven on 180ºC


1.  I start a bit different than what you would normal start, I like it when my ingredients are cooked first, otherwise they produce water and that could mean that your quiche at the end is all soggy...and we don't want that.  So start by chopping up some onion (don't know how - go and check out the help clip), then saute (meaning fry in oil) the onion until it is golden brown, as you can see in the pictures below:


2.  Then add your bacon, cut it up in small pieces (I usually snip it up with a scissor), and let it fry with the onions, also until it has a nice brown cooked colour.


3.  You don't have to but I love adding some Smoked Vienna's, it make the quiche a bit more wholesome and so you can stretch it for more people....don't add Red Vienna's as they will give off the red colour and that will not look very presentable.  I also just cut them up and brown them a bit with the bacon and the onion.


4.  After browning add your corned meat to the mix.


5.  Now for everything else holding "everything" together.  Start by mixing the self raising flour and mustard powder with 1/2 cup of milk.  Then add the milk slowly.


6.  Mix the eggs and add it to the milk mixture...then mix well.


7.  Now add all your other ingredients and don't forget about your cheese and spices....I love a bit of extra ground pepper and some herbs, but you can add what ever you want to flavour it the way you like..  And then you mix it well...


8.  Some people like it in round bowls, but it doesn't matter where you pour it into, just remember to "Spray & Cook" it or butter it, so that it doesn't stick to the bowl, i do suggest using a glass bowl.  After you've mix it all well then you can pour it into the bowl and place it into the oven.


9.  And after about 30 minutes your quiche should be done, you can sprinkle some cheese over it before you place it into the oven.  Just always test the middle before you take it out, it should not be running.  If it is leave it in for a little longer but lower your heat so that it doesn't burn.  Also remember that when it cools down it also "sets" a bit.


Serve with some salad or maybe a garlic bread and there you go all done.


Let the taste transport you.

Friday, September 16, 2011

Rice Made Easy (Microwave)


I have had lots of different people teaching me how to cook, and i have always love watching people cook, you pick up so many tips and ideas from their ways and kitchens.  So out of my kitchen this is how i cook rice...yes it's not the tradisional way, but it works for me...and i can spice it as much as i want and make it different every time.


So here we go:


What do you need:


Rice
Little bit of oil
Water
Spice (what ever you want)


1.  Pour in about a 1 or 2 of rice, depends how much you want to make, in to a big glass bowl.  Drizzle a bit of oil over the uncooked rice, sprinkle your spice.  I did some chicken spice, herbs, salt & pepper.  At the bottom of the blog I will list some other ideas of what to do with rice.


2. Pour in about 1 litre of water, as you can see in the picture, the water really covers the uncooked rice...This is so that the rice can "eat up" the water and they will double in size....hope this make sense.  Into the microwave it goes, with the lid on of course for about 20 to 25 minutes on high.  I always first put it on 25 minutes....it can't burn so don't worry....but you can keep a watchfull eye for your first time.


3.  All the water should be gone, when you take it out of the microwave, if there is any water left you can pour the cooked rice in a strainer and strain the water...Your done, with no mess and no fuss


Enjoy

Wednesday, September 14, 2011

Quicky Tuna Pasta


So it's Sataurday afternoon and you are in the mood for something quick & easy...with no fuss...Well this is such a lovely meal, it's also light and you can serve it with a nice green salad if you have unexpected guests that arrive.  I love pasta so i could eat this all the time....with tuna as an added bonus.


So here we go:


What do you need:


In this recipe you will notice i used a whole bag of pasta and because of that i used two cans of tuna, but it's up to you, i like a lot of tuna.

Printable Version


Mayonnaise
Tuna
Pasta
Oil
Cheese


1.  Put your pot on stove and drizzle some oil in the water...this is to help the pasta not stick to each other.  And when the water comes to a boil add the pasta and then lower the heat...


2.  As you can see below the pasta is ready, it has doubled in size, you can now strain it from the water and place it in a nice oven proof bowl.


3.  After you've placed the pasta in the bowl, sprinkle over cheese, the tuna and then mayonnaise, as you can see i have put in a lot of mayonnaise, i prefer a lot of mayonnaise and cheese...


4.  Mix them all together well, sprinkle some more cheese over it and place in the oven until the cheese is melted....if your really really hungry forget about the oven and melt the cheese in the microwave and eat....


Let the taste transport you...

Tuesday, September 13, 2011

Sticky Chicken

I truely love cooking...I love putting things together and coming up with food that taste good.  I love serving people food and seeing their faces light up when they eat my food...and this sticky chicken recipe is one of my favourites and my family's.  I have a various ways of making this recipe, it all depends on the size of chicken pieces that i'm working with.  This is really another quick and easy one..enjoy


So here we go:


What you need:


Chicken pieces (you can decide for how many people your cooking for)
Onion
Oil


1.  Put your oven on 180.  Chop up your onion in rings, drizzle a bit of oil on a oven dish and place the onion rings in the dish.  Then pack your chicken over the onions.


2.  I love my spices, so spice your chicken, i love using beef spice, mix herbs, soja sauce and salt & pepper.


And now for the MAGIC sauce..the part that makes this chicken taste irresitable.

What you would need:

 50ml Oil
125 ml Tomato Sauce
125 Chutney
15ml Soja Sauce
60 ml Sugar
Spice (as much as you prefer)

Mix together all of the ingrients and mix well.


3.  After about 20 minutes take the chicken out and turn them around and then spice them on the other side also...


4.  After about another 15 minutes take the chicken out and pour your sauce over it, make sure that you cover all the chicken.


5.  I took it out a couple of time in between to just pour the sauce over the chicken.


Whala your done, i served it with potato wedges and some homemade beetroot.  You can also just serve it up with a nice garden salad.  And yes your fingers will get sticky..but that's what eating is all about..


Enjoy - let the taste transport you...