Come join me in my journey through the love of cooking, through difficult Creme Brulé's and easy peesy salads. Sharing my passion for cooking, great food...Let's bring the yummyness home.


Showing posts with label Meat Dishes. Show all posts

Wednesday, August 15, 2012

Chicken Pie pots


When I hear Chicken pie I think back of when I was a little girl and on a Sunday lunch we would have Chicken pie...golden goodness how can anyone with stand it.  Crispy crust with juicy flavourful chicken on the inside.  There is almost nothing more homely than that. 

I decided it was time to jazz up my old recipe of chicken pie and make them into individual pots.  Each person can have their own little pot or two and you can eat to your hearts delight.  I must admit these looked so good that I forgot to take a picture of them out of the tray...the smells coming from my kitchen was truly indescribable....absolute yummyness. 


So what do you need:

8/9 pieces chicken
olive oil
herbs & spices
150 ml Mayonnaise
Vermicelli (2 minute noodles)
Puff pastry
Flour
Egg

Two muffin pans.

Here we go:

1.  Drizzle your pot with a bit of olive oil, sprinkle some herbs and spices and then add you raw chicken.  Brown the chicken in the pot, adding a little bit of water when needed.  When the chicken is cooked let it cool off and then debone the pieces discarding the skin. (I actually took of the skin while it was cooking)  Don't clean up the chicken pot yet.  Place all the pieces in a bowl, add the Mayonnaise and mix it in very well with the chicken. 

2.  Cook a packet of 2 minute noodles or you can use cooked vermicelli pasta.  Add the cooked pasta to the chicken, make sure that the noodles are cut into tiny pieces. (I hope this makes sense)

3.  Take the uncleaned pot where the chicken was cooked in, add about 200ml of water, put the heat on and let it simmer.  Add a small about of flour to thicken the watery sauce.  This will become our gravy as all the chicken "goodness" is in this mixture.  Now add about 100ml of this mixture to the chicken, if the chicken still seems to be dry add some more.


4.  On flat surface sprinkle a little flour so that you can roll out the puff pastry.  Roll out the pastry, I used a glass big glass to make my circles.  I then sprayed the muffin containers and then gently placed each pastry circle in the muffin "pocket".  Cover each pocket with a bit of egg so that the juices from the chicken doesn't get absorbed by the pastry and is cooked properly.


5.  Now to add our yummy filling, and don't be shy make it a good portion.


6.  I used the same glass for the circles on the top also.  Cut them out and place them gently on top of the filled "pot".  Then press down the sides lightly so the they almost and in some cases they will connect.  As you can see in my picture below. 


7.  Now brush each pot with some egg, the egg is used to give it the golden brown colour.  Here they are all ready for the oven...
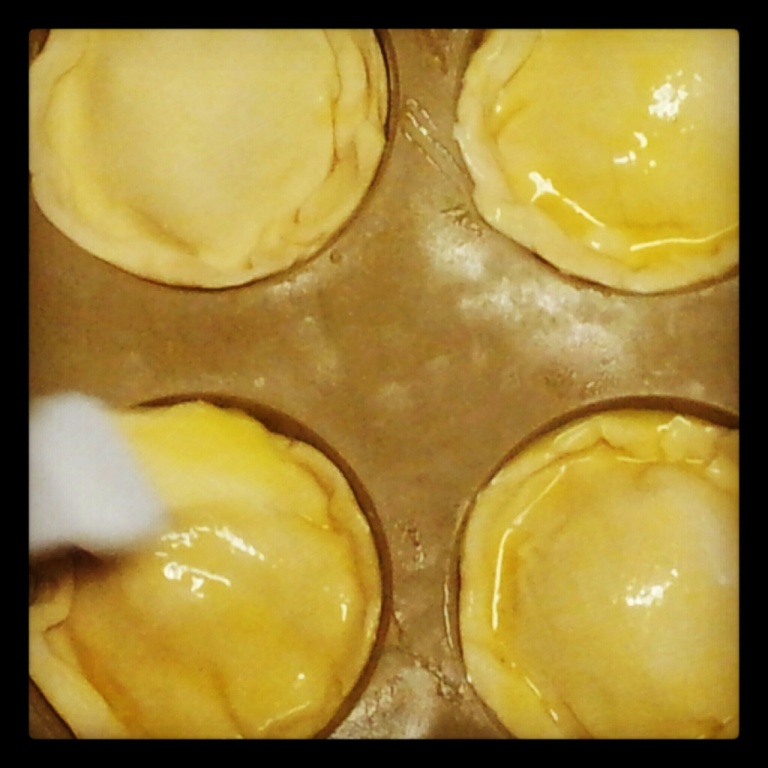


8.  Place them in the oven for about 15 to 20 minutes at 180C or until they are golden delicious brown.


Serve with love firstly and ok some rice, sweeten peas, cauliflower and cheese sauce and you are all set to go.


Bon appetit


Wednesday, February 22, 2012

Roasted Leg of Lamb & Veggies

So lately i've been on a healthy eating plan, so it's been a bit hard to make dishes that I could blog.  So as a treat I made us a Leg of Lamb for our Sunday lunch.  Wow if I must say so myself, it's always a winner and so easy to make.  It can be so full of flavour and so moist and delisious. 

Life is really about flavours and tastes, be it that you love the aroma's of herbs & spices like me, or like my husbands that loves, and I mean loves the "burn" of a chillie.  We should always try and make the aroma's fill our kichens when we cook....as an invite to the world to say....hey something awesome is happen in this house.

When I made the leg of lamb I added some roasted veggies, brown rice and peas to as additionals, and you wouldn't think it but this meal was totally on my "diet" plan as approved. 

Go on pour yourself a glass of wine put that roast in the oven and relax.

Here we go:

1x Leg of lamb
4/5 medium sized potatoes
1 x packet of button mushrooms
1x packet of brown onion soup
1 x small to medium onion (chopped)
Rosemary & Garlic(dried or fresh)
100ml x Red wine (just for that extra flavour)
Soya sauce
Beef spice

Oven to be on 180º C


1.  Place your leg of lamb on top of the chopped onion, and pour your red wine in over the meat, this will as the lamb cooks draw into it.  Also add your spices now, except for the  rosemary and garlic. Then place into the oven at 180º C

After placing the lamb in the oven for about 20 minutes on 180º C, then take it out of the oven and make some cuts in the top layer of the "fatty part".  I love to take rosemary and garlic mix it with butter or margarien and then put some of the mixture in the cuts that i've made, the flavours gets pulled in to the meat and gives it that wow factor.


 2.  Then before you place it back into the oven cut up your potatoes in ¼ put them in with the lamb, also add your mushrooms, I kept them whole.  Now sprinkle the packet of brown onion soup all over....this will give the meat and everything else a nice flavour and also thicken the "sauce". 
Place it back in the oven, I kept it for about 2 hours in the oven, the meat was reall falling of the bone, and that's how I like it.  I then took it out of the oven and cut if up in equal slices.  Leave it a bit in the "sauce" and then you are ready to dish up. 


3.  For the roasting of the veggies I used sweet potato and butternut, I cut them up into very small blocks and drizzled a bit of oil at the bottom of a oven pan, and then sprinkled some of Knor's Veggie Bake over....Oh my word what a suprise on how nice it came out. 

Now if you don't have or can't find Knor's packet....make your own flavour, add some green, red & yellow peppers, add some rosemary, salt and then you should have such a nice mix of flavours.  Place it into the oven until they are cooked or nice and soft.


Enjoy and let the tastes

Thursday, November 3, 2011

Bobotie (Curry Meat Dish)

Bobotie is a very popular South African home cooked dish, it is once again easy and the taste is ooh laa laa..  I used to think that some dishes was so difficult I would never be able to make them, but as i have gotten older i have learned that everything is easy if you have successfully done once, if you have step by step notes or pictures.


This is a simplistic but yet very flavour full recipe:


So what we need:


500g to 1kg mince (it's up to you)
1/2 onions chopped
1 slice bread
250ml milk
2 eggs
1 tbl mild curry powder
2 tbl tumeric (this is for the nice yellow colour)
3 tbl fruit chutney
1 tbl sugar
salt & pepper for taste
I don't like raisins in but most people add about 125ml of seedless raisins - up to you.
3 bay leaves


What do we do:


1.  Drizzle a little oil in a pan and then add your chopped onions, saute them until they are a nice golden brown.


2. Soak the piece of bread with just a little bit of milk, leave that for now to soak.


3.  When your onions are ready add your mince, and then let them summer so that they can become nice and brown.  Don't add any spices yet.


4.  Now go ahead and add all the spices,1 tbl mild curry powder, the 2 tbl tumeric (this is for the nice yellow colour), the 3 tbl fruit chutney, the 1 tbl sugar, salt & pepper for taste.  You can also add your slice of bread, by breaking it into little pieces, then keep stirring and let it simmer for a little.

5.  Now pour or dish your mince mixture into a glass oven proof container, and let it cook at 180C for about 20 minutes...Always keep an eye to make sure that it doesn't burn. 

Now while the mince is in the oven prepare your egg mixture for pouring over.  Mix the two eggs & milk together. 

After about 20 minutes take out the mince and pour the egg mixture over it and place it back into the oven, now you can place some bayleaves on the egg mixture and then put it back into the oven. 


And then after about another 15 minutes or so, the Bobotie is ready.  Doesn't that just look yummy...

Dish up with some rice and veg....wholesome cooked meal.


Sunday, October 2, 2011

Panneloni (Twist on Canneloni)

This recipe is one of my husbands favourite, it happend quite by accident that I made it this way.  It is a twist on the Italian favourite Canneloni, I didn't have the original pasta noodles so I had to improvice and it worked out so well and so tasty.  We served it with some homemade garlic bread and a fresh garden salad. 

This recipe is exctremely filling and works very well when serving a lot of people...just one warning....don't attempt the recipe is you don't have lots of time, because it does take a lot of effort with all of the preparation and the ingredients....well enjoy.

So here we go:

Printable Version

What would you need

Since I have blogged about three of the magor parts of this recipe I have added the links....they are in the order that you might want to make them and prepare before you can start with the method as I will explain now.

1.  Pancake recipe
2.  Mince recipe
3.  White sauce recipe

and now the assembly method:


1.  Take your pancake and add a good dollop of mince and then roll the pancake until you can't see the mince anymore.


2.  Now take some tomato sauce pour it at the bottom of your oven dish and spread it nice and evenly, then pour some white sauce over the tomato sauce....That is your first layer.  Now you can start putting the filled pancakes on top of the white sauce....start fitting pancakes next to each other and make a layer.


3.  When you have completed one layer pour over some white sauce and then some tomato sauce...


4.  Sprinkle some grated cheese over the tomato sauce and then start making another layer with the filled pancakes.  Depending on your oven dishes it will also depend on how many layers you have..


5.  After you have completed you last layer then cover the pancakes with white sauce and sprinkle some cheese on the top.


6.  Place in the oven at 180C and have the cheese melt and brown.


Enjoy and serve with a fresh green salad & garlic bread.

Plain old Mince (Ground Beef)

Some people say cooking is an art and yes in some degree they are correct, but you should love cooking first before it becomes your art...Once again I say I love cooking and I love creating and making things my own. 

Mince is one of the things that can be used with everything, especially if you don't know what to cook, just make some mince add some curry and peas and mix with pasta and there is another quick meal.  So here is an easy and favourable way to make mince, use this for Spaghetti Bolonaise, filling for sandwiches, Cottage Pie, "Pap" & mince...there are endless possibilities....Well enjoy

So here we go:

Printable Version

What do you need

Oil
Mince (Ground Beef)
Onions
Spice & or tomato paste


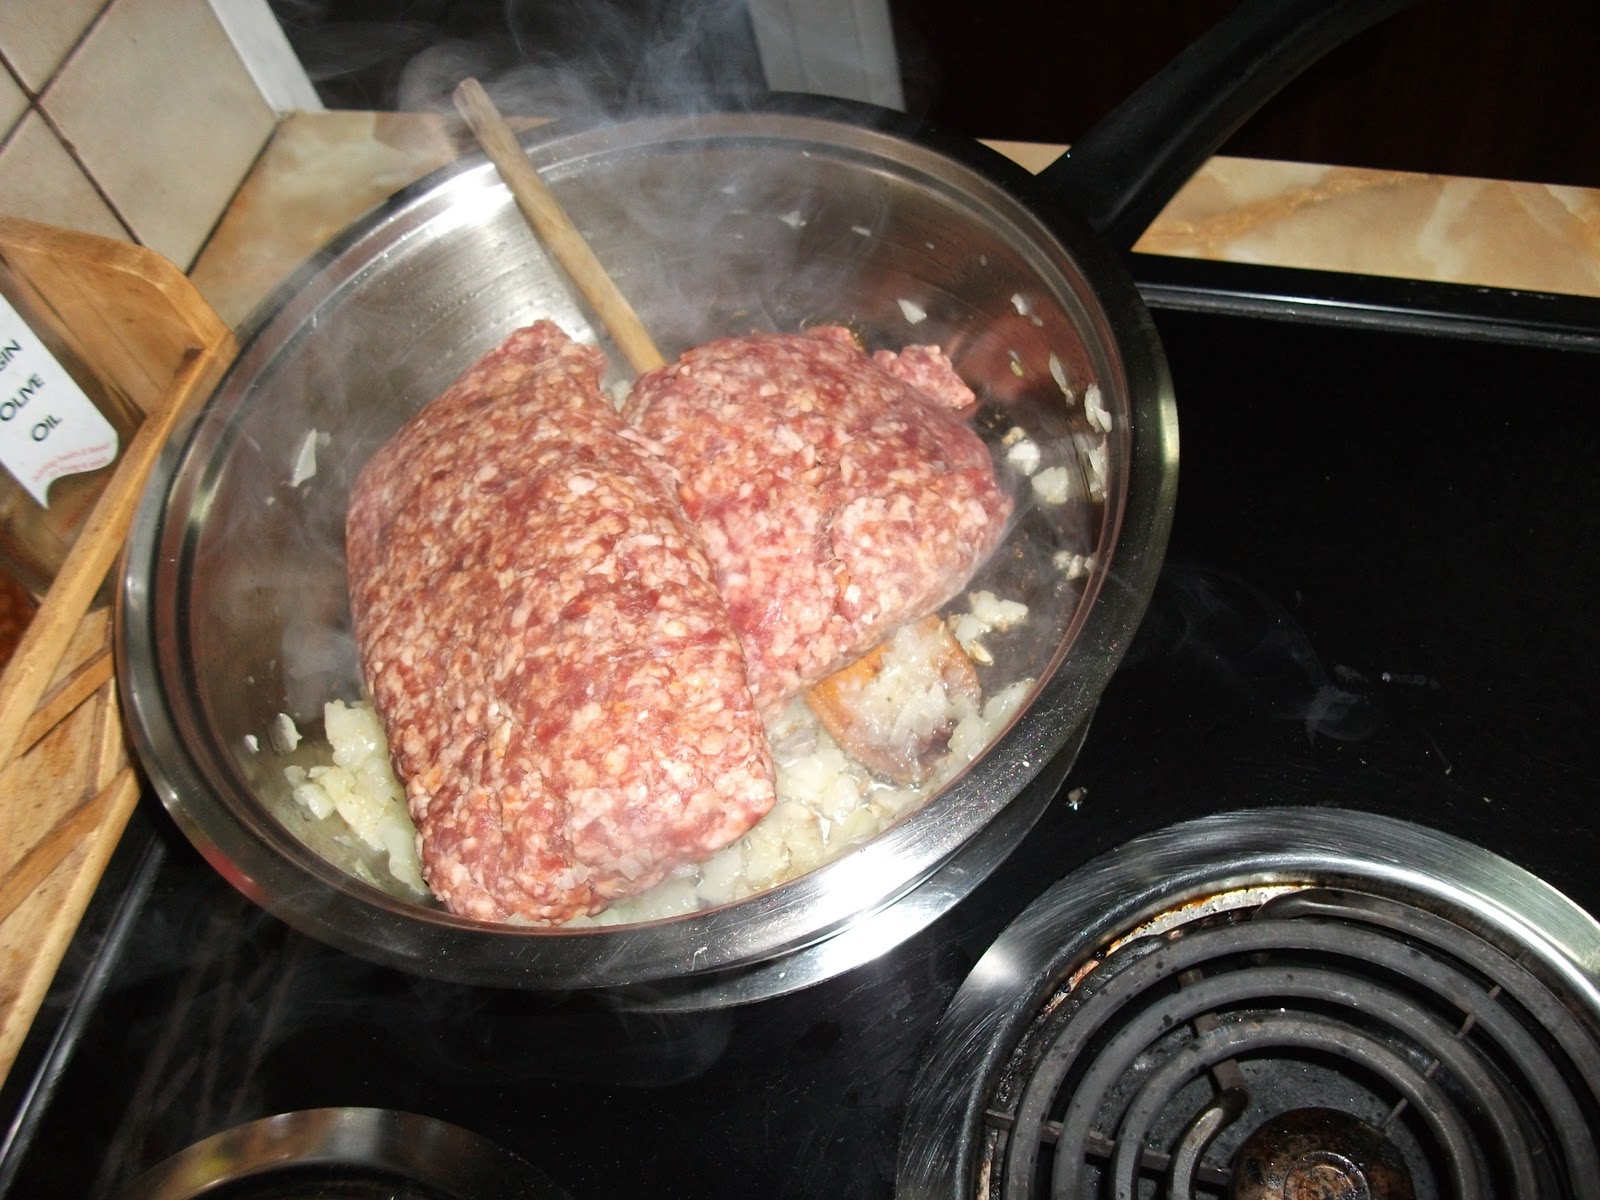
1.  First you chop up your onions and then pour a little oil into your pan, add the chopped onions, braze your onions until they are nice and brown. 


2.  Add your mince to the pan, add a bit of water, just so that the mince doesn't get burned and stuck to the pan.  When it has become more loose and has gotten some brown colour.  Then you can add your spice...I always add beef spice, soya sauce, herbs and salt & pepper...doesn't matter what or how I cook the mince...


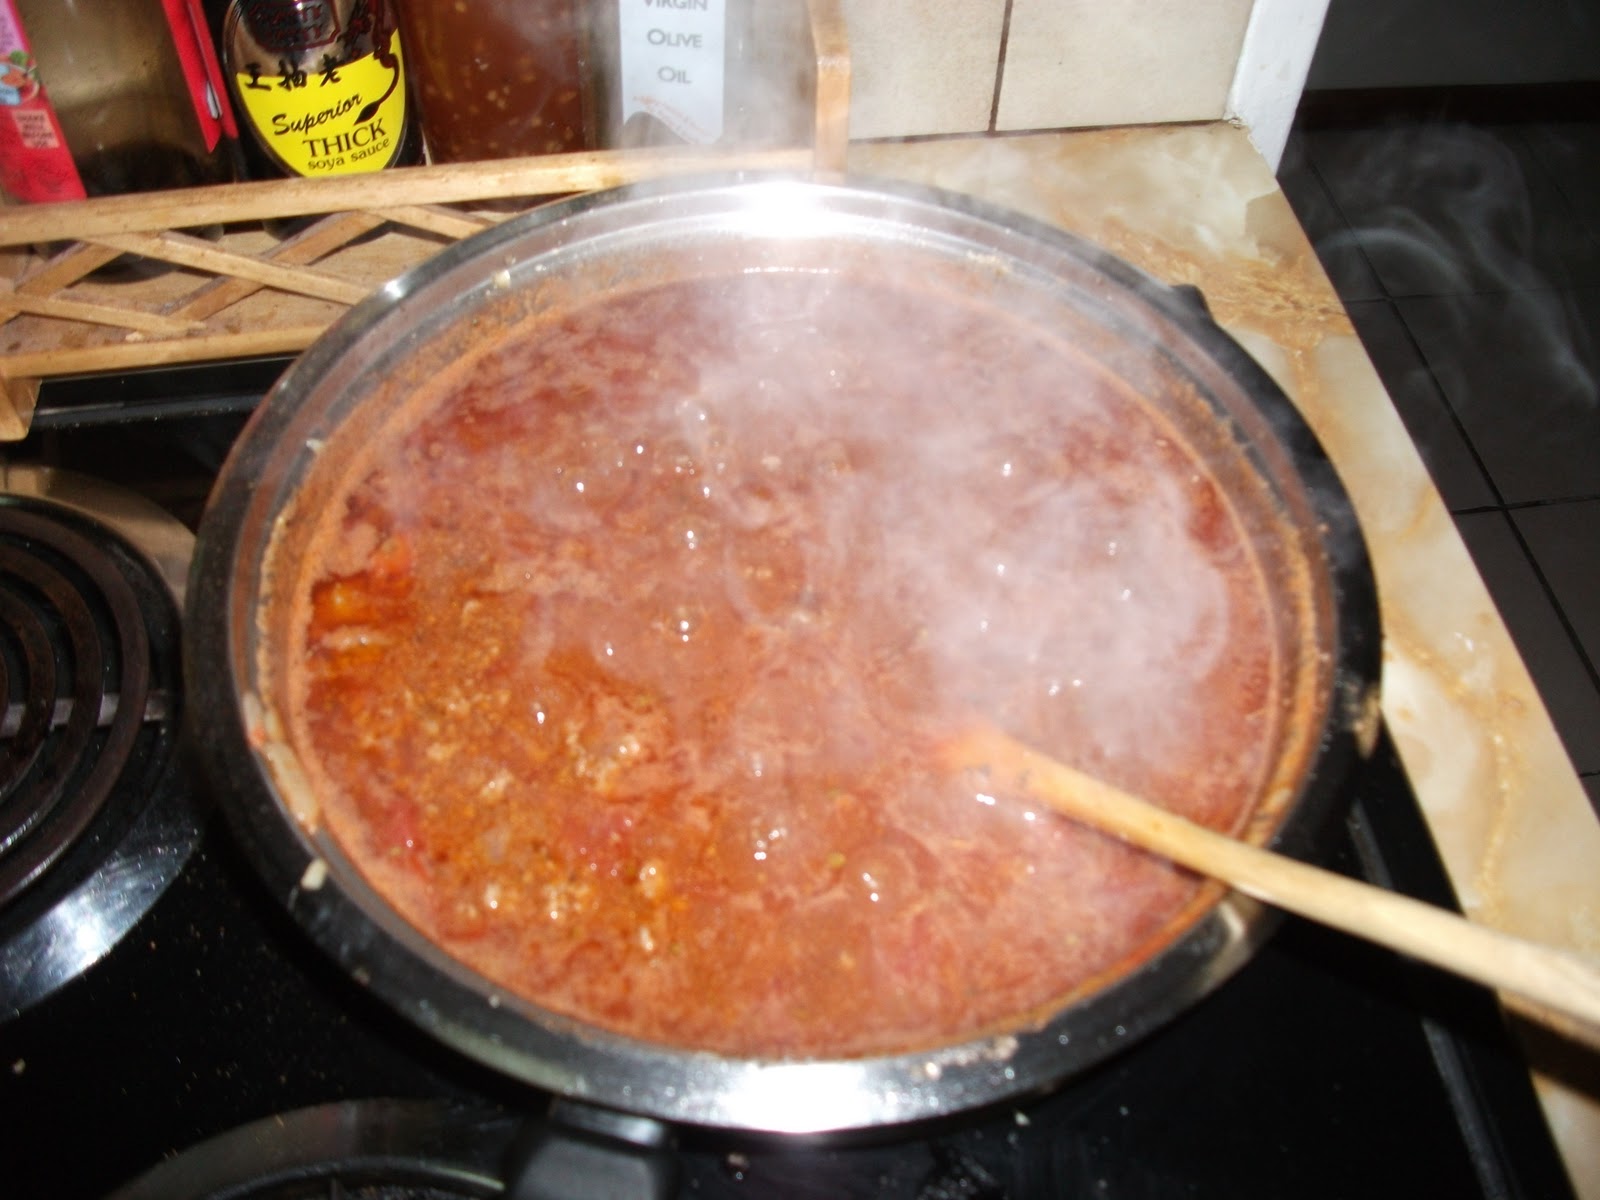
3.  In the picture below I made the mince really sauce, but then it was actually a bit to saucy so I had to add some flour to thinking the sauce of the mince for the recipe that i was using it for.  When the mince is nice and brown you are ready to use and serve....Another idea is to make some mash & sweet peas, a nice gravy then you can eat.


Enjoy.


Wednesday, September 21, 2011

Bacon & Ceddar Quiche (Souttert)

This is one of my favourite dinner dishes, this could be served at a lunch party or for a nice quick Saturday lunch, served with a green salad.  If it's cooked well then i promise it will just fly of the plates of your guests..and everyone will love it.  What's nice about this recipe is that you can add what ever you like and make it your own.  This is also a fun meal to cook because it's so quick and easy...Hope you like.


So here we go:


What do you need:


1 pkt Bacon
1 can Corned Meat (Bully Beef as we call it)
1 onion
4 eggs
2 1/2 cups milk
2 cups cheese
1 tsp mustard powder
4 tbsp self raising flower
herbs + Salt & pepper


Pre-heat your oven on 180ºC


1.  I start a bit different than what you would normal start, I like it when my ingredients are cooked first, otherwise they produce water and that could mean that your quiche at the end is all soggy...and we don't want that.  So start by chopping up some onion (don't know how - go and check out the help clip), then saute (meaning fry in oil) the onion until it is golden brown, as you can see in the pictures below:


2.  Then add your bacon, cut it up in small pieces (I usually snip it up with a scissor), and let it fry with the onions, also until it has a nice brown cooked colour.


3.  You don't have to but I love adding some Smoked Vienna's, it make the quiche a bit more wholesome and so you can stretch it for more people....don't add Red Vienna's as they will give off the red colour and that will not look very presentable.  I also just cut them up and brown them a bit with the bacon and the onion.


4.  After browning add your corned meat to the mix.


5.  Now for everything else holding "everything" together.  Start by mixing the self raising flour and mustard powder with 1/2 cup of milk.  Then add the milk slowly.


6.  Mix the eggs and add it to the milk mixture...then mix well.


7.  Now add all your other ingredients and don't forget about your cheese and spices....I love a bit of extra ground pepper and some herbs, but you can add what ever you want to flavour it the way you like..  And then you mix it well...


8.  Some people like it in round bowls, but it doesn't matter where you pour it into, just remember to "Spray & Cook" it or butter it, so that it doesn't stick to the bowl, i do suggest using a glass bowl.  After you've mix it all well then you can pour it into the bowl and place it into the oven.


9.  And after about 30 minutes your quiche should be done, you can sprinkle some cheese over it before you place it into the oven.  Just always test the middle before you take it out, it should not be running.  If it is leave it in for a little longer but lower your heat so that it doesn't burn.  Also remember that when it cools down it also "sets" a bit.


Serve with some salad or maybe a garlic bread and there you go all done.


Let the taste transport you.